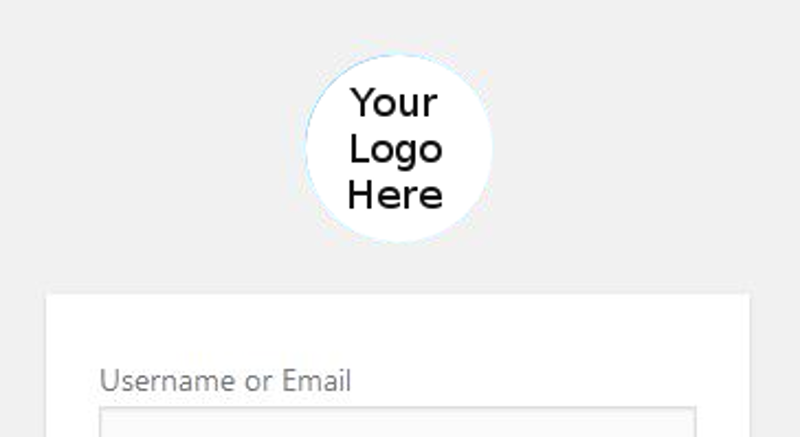
In this article, I’ll be showing you one way that you can alter the logo on your own WordPress site admin page:

At face value, this may seem like a small and insignificant change to make. It is a relatively small one but I don’t think it to be at all insignificant. After all of the other tweaks, mods and redesigns that one could make to a stock WordPress site to make it truly your own, this is one more change that can be made to make a page truly feel as if it belongs to you.
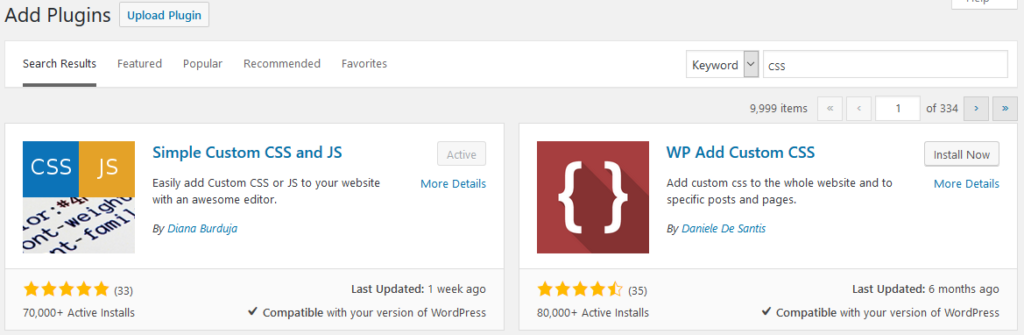
Granted, there are plenty of other plugins that will do this task for you. However, I tend to be something of a minimalist when it comes to code. With WordPress, I’d rather have a site with a few plugins that each handle a group of tasks reasonably well. Any page with over ten plugins just looks and feels unnecessarily bloated to me. I wanted to find a plugin that could solve this problem and perhaps one or two others as well.
The Plugin of The Day
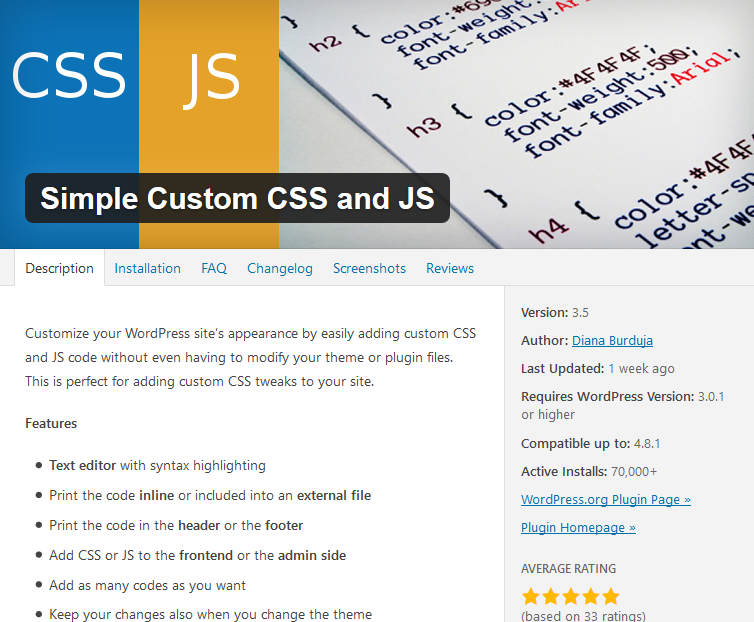
The one thing that attracted me to this particular plugin is that you can create very specific snippets of CSS and JS code that will target specific pages or sections of your site, including the admin page which is what we’re here to edit. To me, this is a good example of a plugin that will allow you to do the one thing I’m going to show you how to do, but will also allow you to do other things past that depending on your specific expertise with CSS and JS.
If you’re more experienced with CSS than I currently am, the following code should work with any editor of your choice. The code itself is by no means plugin specific.
Setting Up Your Assets
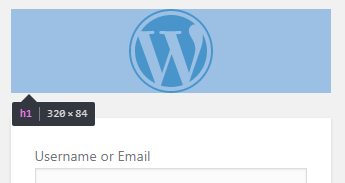
Before getting started on the CSS tweaks, first there will be some preparation that you will need to do. For starters, note that that the dimensions of the stock WP image are 84 pixels square:

Furthermore, the header box that the image sits in is by default 320 x 84:
As for your preferred image: Once you’ve decided on what you’d like to see displayed at the top of your login page, you should upload it to the Media Library and then copy the URL of the link to a text file which will look something like this:
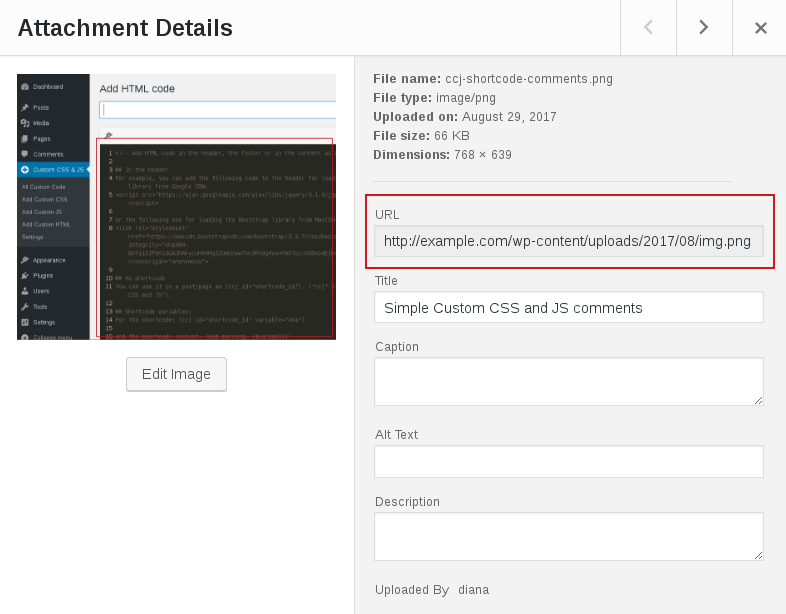
http://example.com/wp-content/uploads/2017/08/img.png ( An”Absolute” URL )
Next, truncate the domain of the site from the URL and save it so that you’re left with the following:
/wp-content/uploads/2017/08/img.png ( A “Relative” URL )
This Relative URL is what you will use in your CSS code in a little bit. As a best practice, its good to use these types of URL’s over their absolute counterparts whenever you can. Doing so will ensure that images will continue to be correctly shown through changes to your website’s domain and/or its protocol from http to https. This practice will also expedite the seamless export of changes from a website on a localhost to a live site.
At this point, you will be ready to setup the plugin itself. If you plan to use something else, you can jump straight past the next part.
Setting Up The Plugin Space
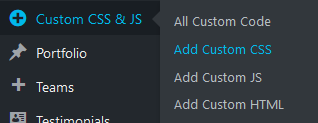
After you’ve installed the plugin, you will see a new section for it in the left hand tool bar. Highlight that one and from the drop down box select: “Add Custom CSS”:
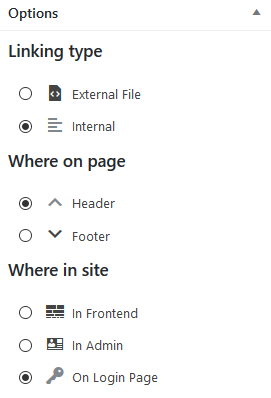
In the blank space that shows up in front of you, give your new CSS entry a descriptive name of your choosing and then in the right hand side of the window under “Options” -> “Where in site” make sure that the “On Login Page” radio button is selected (The other settings can be left alone):
Coding The CSS Itself
As one last caveat before starting on this: As of the time of this writing, the current version of WordPress is “4.8.1”. If your website is running that – or any version up to 5 – you should have no problems with doing an all-but-direct copy and paste of the code below into your CSS file. If your starting from a build past version 5, or you would just like to do a double-check of my own findings, use your page inspector of choice and look up the tags for yourself.
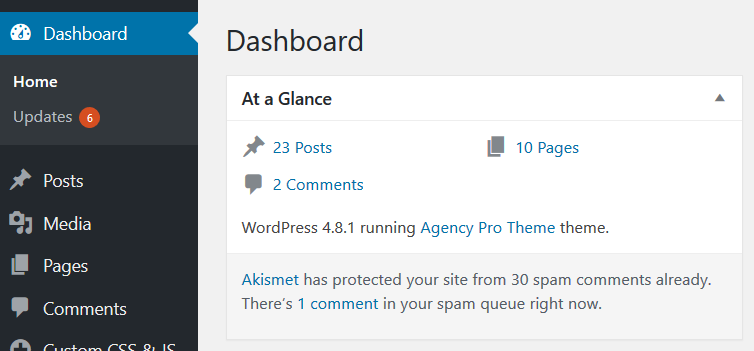
The simplest way to divine your own version of WordPress is to look for the “At a Glance” card in your Dashboard. Depending on your site’s configuration, this card may be somewhere other than next to the vertical menu bar. Still, it shouldn’t be hard to find:
Getting to the CSS: The first thing that needs to happen is to have the current logo visually put aside. You can accomplish this with the following code:
.login h1 a { display: none; }
In order to put your logo in its place, you will need to set it up as a background wallpaper. The “wall” will be within the confines of the header block. Your image will appear once on that wallpaper in the very center.
Here is the code to accomplish that:
.login h1 {
 align-content: center;
 background-position: center center;
 background-repeat: no-repeat;
 height: 84px;
 padding-bottom: 1em;
 background-image: url(/wp-content/uploads/2017/08/img.png);
}
This is the end result on my own site:
If the height of your desired logo is not 84px, you will need to adjust the height property to match. You may even have to tweak the other settings if you have some kind of unusual or esoteric shape. Still, this should give you a starting point that will save you the odd quarter of a day that I had to schlep through myself to figure these out on my own.
Special thanks to Diana Burduja for providing editing insight and assistance with this article.